
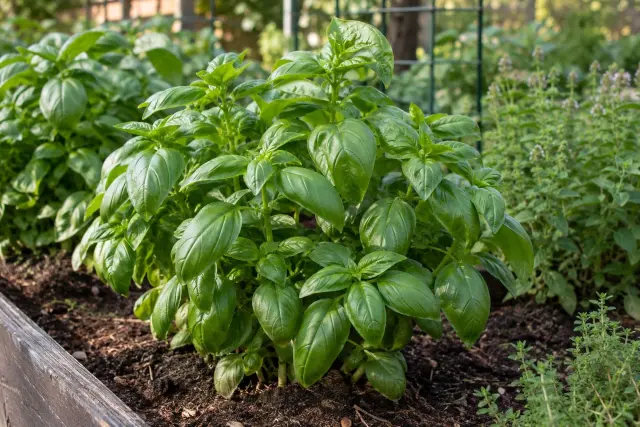

Start growing
Thirteen steps from “I'd like to grow something” to your first harvest.
Your first season, in 13 steps
Most first attempts fail for the same few reasons: too little light, the wrong pot, too much water, or sowing everything at once. Work through these steps in order and you avoid all four.
About 15 minutes to read. The steps themselves take one season.
Plan
Work out what your space can grow before you buy anything.
-
01
Step 1
Find out how much sun you get
Light decides what you can grow more than anything else. Watch where the sun falls on one clear day and count the hours of direct sun.
Do this
- Check the spot in the morning, at midday and in the evening.
- Six hours or more of direct sun: fruiting crops like tomatoes, peppers and beans.
- Three to six hours: salad leaves, spinach, parsley and mint.
- Under three hours: grow indoors under a light, or choose shade-tolerant plants.
Hours of direct sun on a clear day - Shade · Under 3 h Snake plant, indoor plants under a light
- Partial shade · 3 to 6 h Lettuce, spinach, parsley, mint
- Full sun · 6 h or more Tomatoes, peppers, beans, courgettes
-
02
Step 2
Measure the space you have
The space sets the size of pot you can use, and the pot size sets the plant. A windowsill, a balcony and a bed each suit different crops.
Do this
- Measure the depth of your sill, the floor of your balcony, or the length of your bed.
- On a balcony, check the weight limit and whether wind hits it hard.
- Note where the nearest water is. Carrying cans is what makes people give up.

-
03
Step 3
Choose one to three plants
Start with plants you want to eat and that forgive mistakes. Three plants grown well teach you more than twelve grown badly.
Do this
- Pick from the plants for your space further down this page.
- Mix one fast crop (radishes, salad leaves) with one slower one (beans, a tomato).
- Grow mint in its own pot: it spreads through anything it shares.
-
04
Step 4
Check your timing
Frost-tender plants like tomatoes, basil and beans die in a frost, so their timing hangs on your last frost date. Hardy crops like peas, radishes and spinach can go out earlier.
Do this
- Look up the average last frost date for your area.
- Check what to sow this month in the calendar, set to your climate.
- Plan to plant frost-tender crops out one to two weeks after that date.
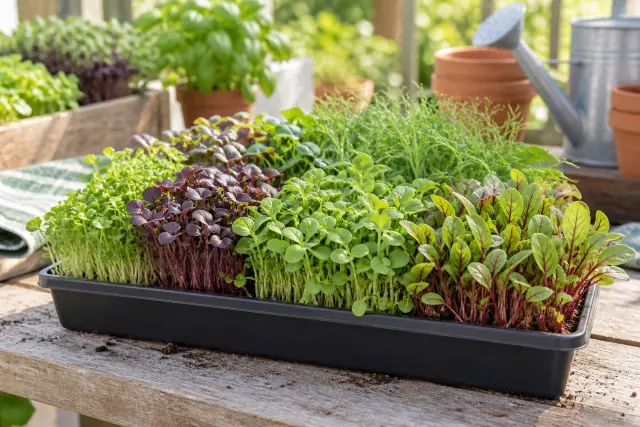
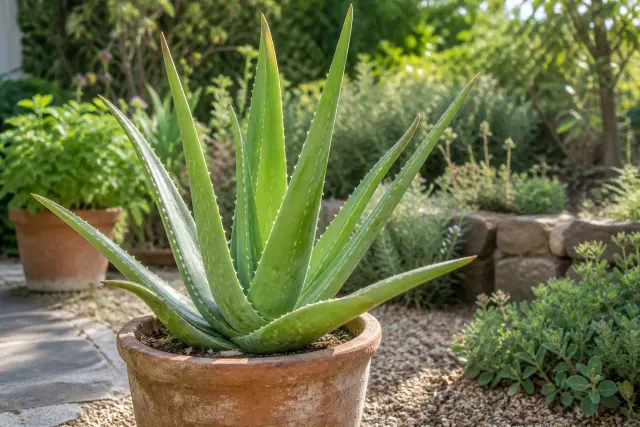
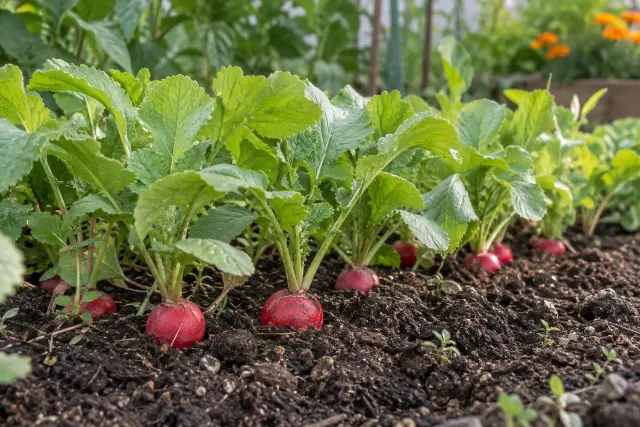
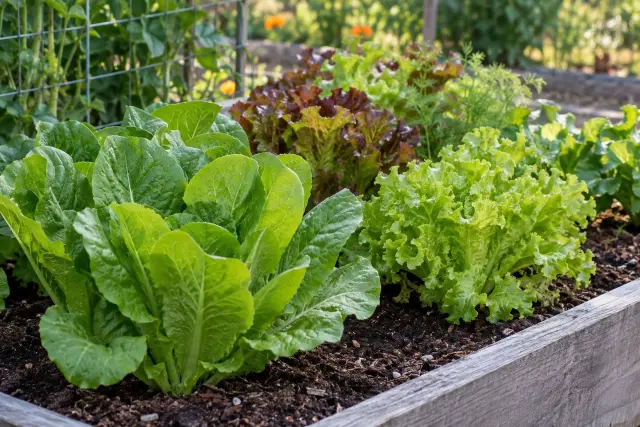
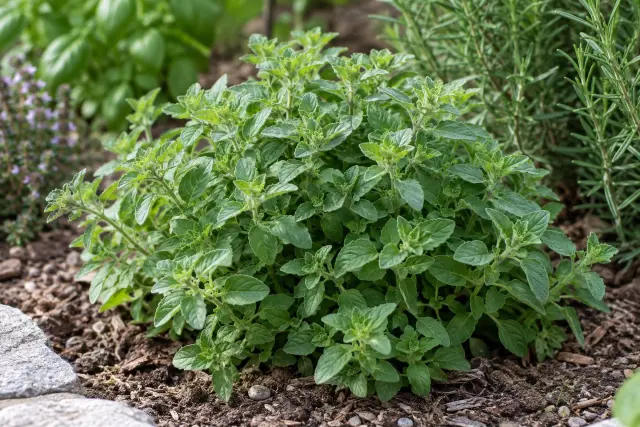
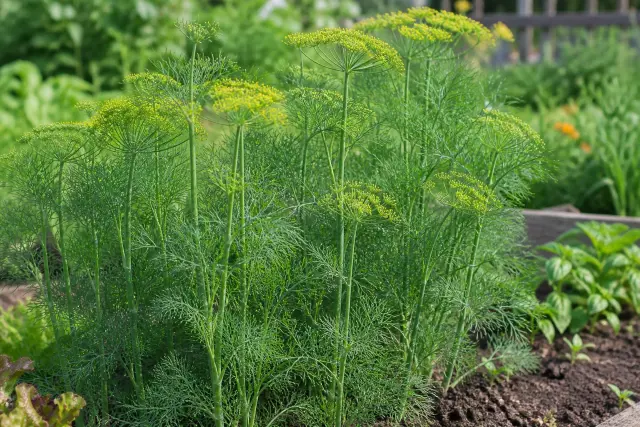
Pick your first plant by the space you have
Plants that forgive mistakes and do especially well in each space.
Set up
The pots, compost and tools, and nothing you don't need.
-
05
Step 5
Get pots that drain and are big enough
A pot without drainage holes drowns roots, and a pot that is too small dries out within hours in summer. Size matters more than material.
Do this
- Make sure every pot has holes in the base.
- Herbs: 2 to 5 L (0.5 to 1.3 gal). Salad leaves: 5 to 10 L (1.3 to 2.6 gal).
- Tomatoes, courgettes and potatoes: 15 to 30 L (4 to 8 gal) or more.
- Stand pots on feet or a slatted tray so the water can get out.
The smallest pot that works - 2 to 5 L 0.5 to 1.3 gal Herbs, radishes
- 5 to 10 L 1.3 to 2.6 gal Salad leaves, strawberries
- 15 to 20 L 4 to 5 gal Tomatoes, peppers, beans
- 30 L or more 8 gal or more Courgettes, potatoes
-
06
Step 6
Use compost, not garden soil, in pots
Garden soil packs down in a pot and starves roots of air. Buy a peat-free multipurpose compost for pots, and a fine seed compost if you sow indoors.
Do this
- Fill pots to about 2 cm (1 in) below the rim, so water doesn't run off.
- Firm lightly with your fingers. Don't press it hard.
- Use fresh compost every year for crops in pots.

-
07
Step 7
Gather a few tools
You need far less than garden centres suggest. The starter kit below covers a whole first season.
Do this
- A watering can with a rose, so water falls gently.
- A hand trowel, labels and a pencil.
- Gloves, and string or canes for anything that climbs.

The starter kit
Everything a first season needs. Everything else can wait until you know you want it.
- Pots with drainage holes Sized for the plant, see step 5.
- Peat-free multipurpose compost Plus seed compost if you sow indoors.
- Watering can with a rose The rose spreads the water so it doesn't wash out seed or compost.
- Hand trowel and gloves For filling pots and planting.
- Labels and a pencil Pencil lasts. Marker fades in a month of sun.
- Canes and soft string For tomatoes, beans and peas.
Sow and plant
Getting seeds and young plants off to a clean start.
-
08
Step 8
Decide: seeds or young plants
Seeds are cheaper and work well for fast crops. Young plants save weeks on slow ones, and for a first year they are worth the extra cost.
Do this
- Sow from seed: radishes, salad leaves, beans, peas, sunflowers.
- Buy as young plants: tomatoes, peppers, rosemary, thyme, strawberries.
- Sow a little every two to three weeks rather than a whole packet at once.
-
09
Step 9
Sow at the right depth
The usual rule is to cover a seed with two to three times its own width of compost. Very fine seed is pressed onto the surface, not buried.
Do this
- Water the compost before sowing, so seeds aren't washed about.
- Label every pot or row with the plant and the date.
- Indoors, most seed germinates fastest at 18 to 24 °C (64 to 75 °F).
- Move seedlings into the brightest light the moment they appear.
Sowing depth: about two to three times the seed's width - On the surface Lettuce, basil
- About 1 cm (½ in) Radishes, spinach
- About 3 to 5 cm (1 to 2 in) Beans, peas
-
10
Step 10
Harden off, then plant out
Plants raised indoors are soft. A week of gradual time outside toughens them before they go out for good.
Do this
- Day one: an hour outside in a sheltered spot. Add a little more each day.
- After about a week, leave them out day and night.
- Plant at the same depth they were growing (tomatoes can go deeper), and water in well.


Care and harvest
The routine that keeps plants cropping until autumn.
-
11
Step 11
Water deeply, but check first
More plants die from too much water than too little. Push a finger into the compost: if it is damp at the second knuckle, leave it.
Do this
- Water the compost, not the leaves, until it runs from the base of the pot.
- Water in the morning or evening, not in midday sun.
- In a summer heatwave, check pots every day. Small pots may need water twice.

-
12
Step 12
Feed and support only when needed
Fresh multipurpose compost feeds a plant for its first four to six weeks. After that, leafy crops need little, while fruiting crops need regular feeding.
Do this
- Once tomatoes, peppers or courgettes flower, feed every 1 to 2 weeks with a high-potash (tomato) feed.
- Put canes or supports in at planting. Pushing them in later goes through the roots.
- Check under leaves for pests once a week. Early is when they are easiest to deal with.
-
13
Step 13
Harvest often, and note what worked
Picking keeps most crops producing: beans, courgettes and herbs make more when you pick them young. Then write down what you would do differently.
Do this
- Pick salad leaves from the outside and leave the centre to keep growing.
- Pick beans and courgettes small and often, before they turn tough.
- Keep a note of sowing dates, what did well and what didn't.


Six mistakes almost everyone makes
Knowing them in advance is most of the battle.
-
Watering on a schedule
Water when the compost is dry at the second knuckle, not because it is Tuesday.
-
Too little light
A spot that feels bright to you is often shade to a plant. Count the hours of direct sun.
-
Sowing the whole packet at once
Sow a short row every two to three weeks for a steady supply instead of one glut.
-
Pots that are too small
A small pot dries out and starves the plant. Go one size bigger than you think.
-
Planting out too early
One cold night kills tomatoes and basil. Wait until after your last frost, and harden them off first.
-
Feeding too much
Fresh compost has what a plant needs for weeks. Extra feed burns roots and grows leaves instead of fruit.
Questions beginners ask
What is the best thing to grow first?
Salad leaves or radishes in a pot. Both are ready in four to eight weeks, cope with some shade and show you quickly whether your watering is right.
Can I grow food with no garden?
Yes. A sunny windowsill grows herbs and microgreens, and a balcony with six hours of sun grows tomatoes, peppers, beans and strawberries in pots.
When should I start?
Spring is the usual start, but you can begin any month. Herbs and microgreens grow indoors all year, and autumn is the time to plant garlic.
How much time does it take?
A few pots take about ten minutes a day in summer, mostly watering. A small bed takes an hour or two a week.
Why did my seedlings grow tall and floppy?
Not enough light. Seedlings stretch towards weak light. Move them to the brightest spot you have as soon as they come up, or use a grow light.